Wednesday 20 November 2019

Crochet Blanket Inspiration: A Finished Project!

It seems like ages since I finished a crochet project and that has everything to do with the fact that I cannot finish things, I can only start them. I must have six or seven projects on the hook at the moment, some huge and some tiny. But!! I have finally finished something! It’s been a long project – a year long, in fact - I have finished my Temperature Blanket project!

I started this on my 30th birthday – you can read about the beginning here. I started the blanket on holiday to Norfolk. The aim was to make one year long blanket to get a full change of temperature for my 30th year. However what actually happened is that I didn’t plan it very well and I had to split the project into two smaller, six-month blankets instead. The second blog I wrote about it is here; after less than two months I already had a list of things that I would do differently.

My birthday and Davids birthday, in crochet temperature blanket form.

A row of sparkly gold for the day we got engaged

The third main update on the blanket was in February, when I was halfway through the first part. These blankets have been great to pick up when I have been anxious as I could just focus on a few rows and get them done without worrying about complicated stitches or patterns.


I finished the first six-month blanket in April and you can read about it here. I do love this blanket – I really dislike the colour green which is just _great_ as I work outdoors and have an allotment, but the blend of blues and greens on this blanket is very earthy, natural and soothing. It is muted and calm and is very interesting to see the daily fluctuations in temperature over time. Each colour had only three degrees attached to it (for example, 36+, 35-33, 32-30, 29-27 etc) so the colours represent a narrow range.


In May 2019 I had started the second half of the Temperature Blanket project. I had a slight stitch-counting issue and I had to make a patch for it – read about that here. I haven’t blogged much about the blanket since May, probably because it was a scorcher of a summer and thus not blanket making weather! It is great being able to cosy up under a blanket as you make it, but not when temperatures are around 30 degrees.


I took this blanket away with me to the Isle of Wight for our annual birthday holiday getaway trip. I was determined to get it done by the time we got home! When we went, I had about seven weeks to catch up on, so I had my work cut out. Fueled by hot chocolates with mini marshmallows and whippy cream, I nearly did it! By the time we left I think I only had a week left to do on the blanket. I finished it that weekend, only a week later than planned.


The two blankets, side by side. October is at the bottom of both pieces.

So my year-long blanket project is over and I nearly finished it in a year. I stopped counting how many balls of yarn I used but it was a lot. I learnt so much doing this project and will probably never make another one (or two!) for lots of reasons. However, saying that, it has been fun, I have two new blankets out of it, and they are both so different yet I somehow managed to get them the same size.

Only two more blankets to finish before I can start a Sophies Universe…….


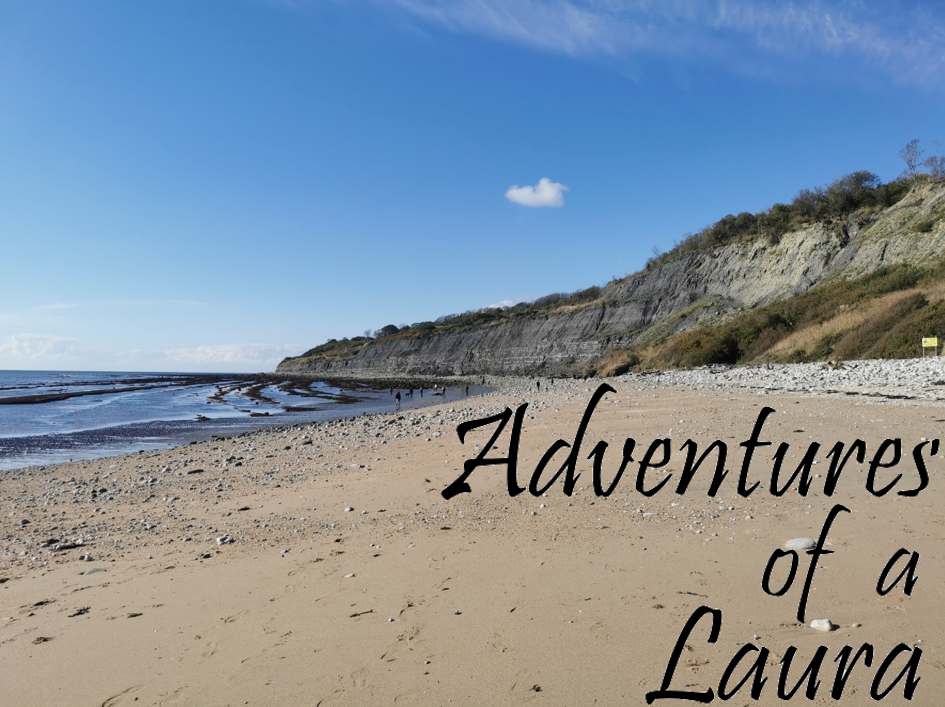
My view for much of my holiday to the Isle of Wight


Friday 15 November 2019

Allotment Life: A Chilly November Weekend


There isn’t very much to do at the allotment at the moment, or rather more accurately, there isn’t much that I can do as it is just mud, slop, quagmire, and generally very slippy. The wood I bought is too wet to paint, and the ground is too wet to dig. I have been plotting and planning though, and do have a large to-do list that I’d like to get done over winter. When it’s dried out a bit.

So instead of doing big jobs, I went to feed the birds. I have been having issues with my lower back so I decided to walk to the plot; it is only about a quarter of a mile from the front door step to the allotment gate but still I tend to drive it all the time. I decided to walk to stretch my legs a bit, and hopefully ease my back out too.

It was quite cold and the wind was so sharp when I went up and I had several layers on. I do love wrapping up warm in this weather even though I tend to overheat quite rapidly and need to strip off again.

I filled up the fat ball feeders and as I did, a long tailed tit came and landed in the plum tree where I hang the feeders, sat and watched me for a bit, and then flew off again. After I had filled all the feeders (a mix of fat balls and seed), I stood up by the shed and watched all the birds come down. It doesn’t take them long – I am sure they sit in the bramble thicket watching me, waiting for me to leave. I saw sparrows, a robin, blue tits and great tits. The long tailed tit didn’t come back while I was stood there.

Great tit taking advantage of the broken feeder with no lid

Blue tit on fat balls

A wee robin

I ran out of bird seed so Momma and I went to a new Wilkos to explore, and bought 12.75kg of seed for £6 – absolutely brilliant price and I think I’ll buy this more often. I decant the seed into old fat ball tubs for storage, and one bag fills 2.5 tubs. I took this to the allotment the day after, and I also decided to put up a new seed feeder with a finch seed mix in it. I spotted a greenfinch in the hedges of the allotment site back in August so I hope it comes back now that it has its very own feeder.

The bird feeding tree - a cluster of four plum trees. There are 5 seed feeders, 4 fat ball feeders, 1 finch seed feeder, and a suet block feeder which is used for wool and cat fur for the birds to take as nesting material.

Again I went back towards the shed to watch the birds. The usual suspects appeared; sparrows, robin, magpies, blue and great tits – and then – then!! – a great spotted woodpecker flew down, landed on the tree and then went over to the fat balls. It was on the feeders for a good five minutes when I became aware of something hopping around the road at the bottom of the plot. I managed to get a view of it between everything and for the first time in the ten years that I’ve been on this site, I saw a green woodpecker. A green woodpecker!!! I was so excited. Another plot holder told me last year that he had seen one a few years before, so to know they are around again is brilliant. Green woodpeckers are ground feeders and like to eat ants, whereas great spotted will hunt for grubs under tree bark.

Great spotted woodpecker on fat balls

Green woodpecker. This was at the bottom of my plot and I was stood at the top - my phone was on 25x zoom!

I still want to see the long tailed tits as they are just so incredibly fluffy and cute. They often hang around in packs and earlier this year I had six on a feeder at the same time.

Monday 11 November 2019

Allotment Life: One Year of Plot 4!


Momma P took on her very own allotment just over a year ago and she has been working away at it, slowly transforming it into her own space. She has built all of the raised beds from scratch, laid weed mesh and shifted barrow loads of bark chippings. We laid a path together but she dug out all the compost and levelled it off herself. Harvest-wise, she has had potatoes, beans, peas, leeks, chard, nasturtium, patty pan, courgette, marrow, pumpkins, tomatoes, peppers, apples, red cabbage, sprouts, quinoa (!), and hopefully soon, aubergines.

I took this picture back in November 2018:


And this is November 2019:


Thursday 7 November 2019

Making the Seasons: Autumnal Wreath - Finished!


I started this last year sometime - November 2018 to be precise, read the blog here!; I wanted an autumnal wreath made with both crocheted items and things that I collected from varying walks. The wreath base is polystyrene and from Wool Warehouse, the fairy lights were from Poundland, and some of the decorative things were from either Poundland or Sainsburys in their seasonal aisles. I think I am finally happy with how this looks. I just need to put more foil in the battery pack, change the batteries, fix the scarecrow to it, and then add a hanging loops – oh, and then find somewhere to hang it!


I used star stitch and Stylecraft DK Cabaret. The hedgehog was made using a pattern from Crochet Now magazine, and varying things were either leftover from other projects or just quickly made without a pattern. I used a leaf and little ball patterns from Attic 24, acorn pattern from a blog that I cannot remember, and the littlest pumpkin came from Ravelry. The toadstools I think I freehanded as the patterns I found were all way too big, so I used embroidery floss and a 2.5mm hook for them. I used absolutely loads of fabric tack glue from the Birmingham Rag Market to glue it all on to the wreath as I absolutely hate sewing, especially when it is really fiddly.

Acorns, knopper galls, conkers, sweet chestnuts, mouse-chewed cherry stones, larch , alder & pinecones, and catkins were all made by Mother Nature. The catkins have dried and fallen of – I didn’t know about preserving leaves and things when I started this wreath. The little wooden mouse was handcarved and a gift for my fiancĂ©e who passed it to me. Star anise was added but I’m not sure why, I think I just liked it but it smelled foul to start with.


It is a truly mixed media piece and I’m very proud of it, but it is very fragile as things are drying and crumbling. Hopefully the cones and acorns will hold on for a while, but it did look good with dangly catkins.

Sunday 3 November 2019

Allotment Life: October 2019


October was fairly quiet at the plots (I think?) as I was away for eight days on the Isle of Wight (read part one here and part two here). I have also been battling LauraFlu for a couple of weeks. Just a sniffle and a sore throat, but a monumentally foggy blurry head, and it has left me feeling really rather lethargic and rundown. Added to that, a practical physical job at which I do the bulk of well, everything, so I have also been nursing sore muscles for a while.

One of the big jobs that I have completed (mostly) is the almond tree! I made this raised bed in August I think, but only recently had the money and the works van to go compost shopping. I dug out six wheelbarrows worth of crud and grass clippings from my compost bin and made a layer cake of thick cardboard, crud, more cardboard, more crud, cardboard, and then fresh brand new peat free compost. The crud is used to bulk out the bed otherwise it’d take a lot more than ten bags to fill! The cardboard acts as a biodegradable weed suppressant but also gets rid of waste cardboard, and saves me a trip to the recycling centre. I don’t use weed mesh or matting wherever I can as this is plastic and it degrades into smaller bits of plastic. After ten years I am still digging up plastic tarpaulin, weed fabric, or pea netting that I used when I first started on the allotment.


The selection of bulbs for the almond tree bed. 3kg of daffodils, 100 crocus, 50 allium and 15 tulip.


Ta-dah! Almond tree with two rings of flower bulbs around it. and two watering tubes straight to the roots.

So now the bed is done! It has been filled with crud and fresh compost, and it has had two rings of flower bulbs planted. I have planted daffodils, tulips, alliums, and crocus. In the middle I have planted an almond tree! I am SO excited for this. It will be a beautiful tree even if I never get any almonds from it, it will give somewhere else for the birds to sit, and as it grows it will provide a bit of shade to the bottom of the plot. The next step is to buy some 20mm decorative pebbles to put over the top. This will a) be decorative, b) deter foxes and birds digging up the bulbs, and c) act as a mulch which will help to retain moisture and hopefully reduce how much watering I have to do.

As well as planting a tree and loads of bulbs, I also spent a squelchy wet day digging slop to plant bulbs in front of and alongside raised beds. I dug four trenches; one by the compost, one at the side of the herbs, one in front of the raspberries and one in front of the almond bed. Each trench has had a mix of daffodils, tulip, crocus, snowdrop, anemone, and alliums. I inverted the clods so that the grass will rot and fertilise the bulbs a bit, but also so I could see where I’ve been digging. I am determined to have the most bulbs in the spring!


On Plot 4, Momma P and I laid a path! It is a very simple construction. There was a ditch which has been filled in by Momma and lots of compost dirt, and levelled off. We then laid some weed control fabric down (Momma does not share my plastic reducing ideas, plus it is actually a useful thing to use - I just don't like it), pegged it in place, placed 300mm slabs on top using the handle of a spade to ensure the same distance between slabs, and then we poured loads of 20mm pebbles around them to hide the fabric and make it look nice. It is so good! Very simple, very effective.


Back on Plot 31, I have cut down the raspberries and have been enjoying the last of the harvests. There are no more carrots left! It is very much sprout and chard season at the moment. I have planted my onion sets and the garlic that I bought from the Garlic Farm on the Isle of Wight. I have replanted the garlic a couple of times – I think I am going to put some mesh over the bed to protect them from the birds while they establish.


So it has been another productive and busy month on the allotment although it doesn’t feel like I have done much, and it is hard for me to remember how much I have actually done. This is why I take so many photos. My allotment time is mostly restricted to weekends now, though I do occasionally pop up after work to harvest things or feed the birds. I have lots of plans for November – I will get the paving slabs done this side of Christmas!

Plot 4 sprouts

Plot 31 runner beans. Still producing beans on halloween!

An October harvest. Pumpkins, apples, chard, leek, raspberries, courgette, sprouts, carrots, nasturtium, sorrel, and physalis.